![]()

Heavy Squad is a short level entirely based upon constant combat found in the Faction Pack DLC for Metro Last Light. With a tremendous number of enemies attacking, lengthy sniper duels with multiple opponents at the same time, only seconds of pause, no safe zones, and an enemy encounter near the end that requires luck to not be instantly-killed by, Heavy Squad has been criticized by fans for being far too difficult of a mission, even for veterans of the series, and is especially so on the Ranger difficulties.
Overview
See also: Heavy Squad/Walkthrough
Taking brief control of the Reich shock trooper Hans, Heavy Squad puts the player back at the Frontline between the Reich and the Red Army sometime preempting or during the Battle of D6. It is the player's job to literally slaughter as many opposing soldiers as they can, by any means they can. As a heavy weapons specialist of the Fourth Reich, however, Hans is particularly well-equipped for this task - and the level can be easily split up into sections dependent on the weapon and enemy encounter Hans faces.
The First Wave
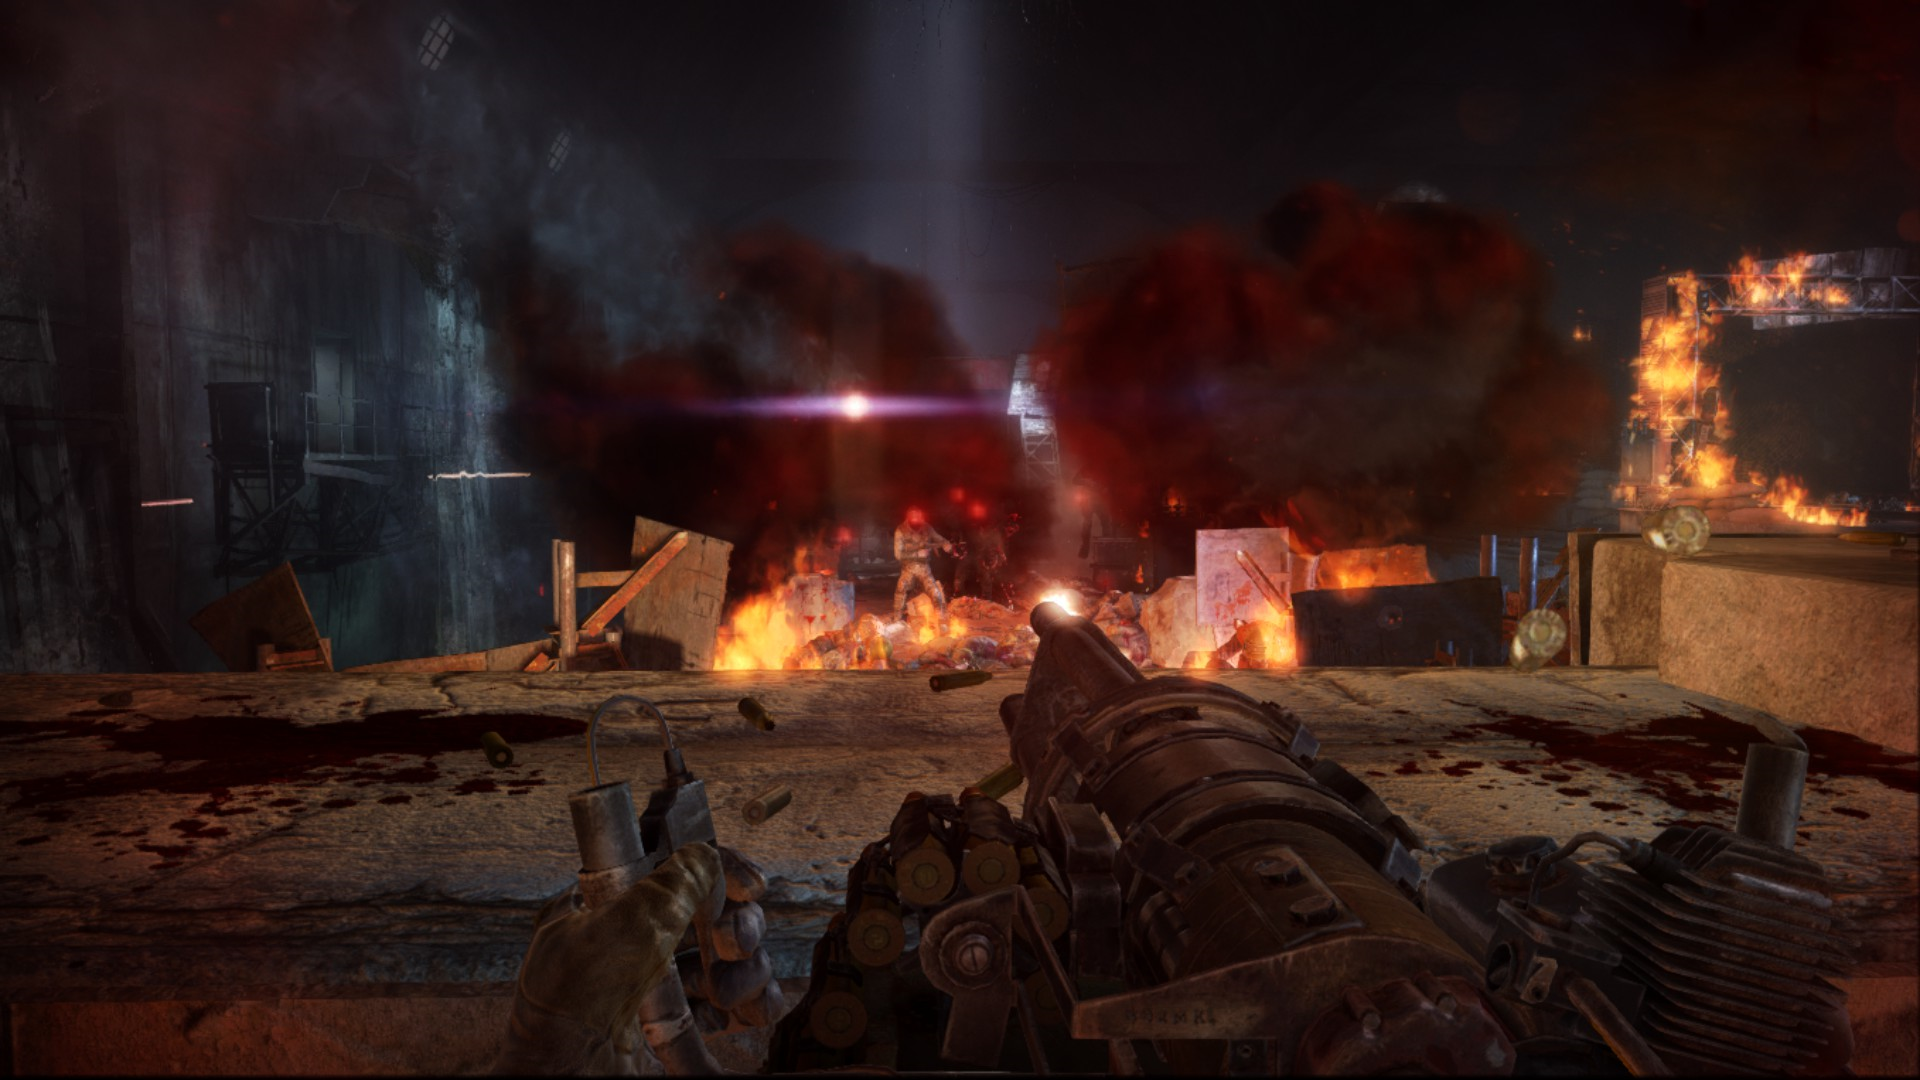
Hans first must repel a wave of Red Army soldiers in a manner most similar to that of which Artyom must do. Armed with a Hand-held Minigun to begin with, Hans must cut down some twenty soldiers in NBC suits emerging from the fire across the bridge, and roughly twenty more soldiers with red night vision goggles and slight armor. Players should keep in mind that, that standing out in the very front of the plaform and holding down the fire button for constant supression fire is not just the best offensive strategy, but a very good defensive one as well.
Players should make note of the ammo box to their left, and that it contains an infinite number of medkits, especially since Hans only begins the level with one.
The Second Wave
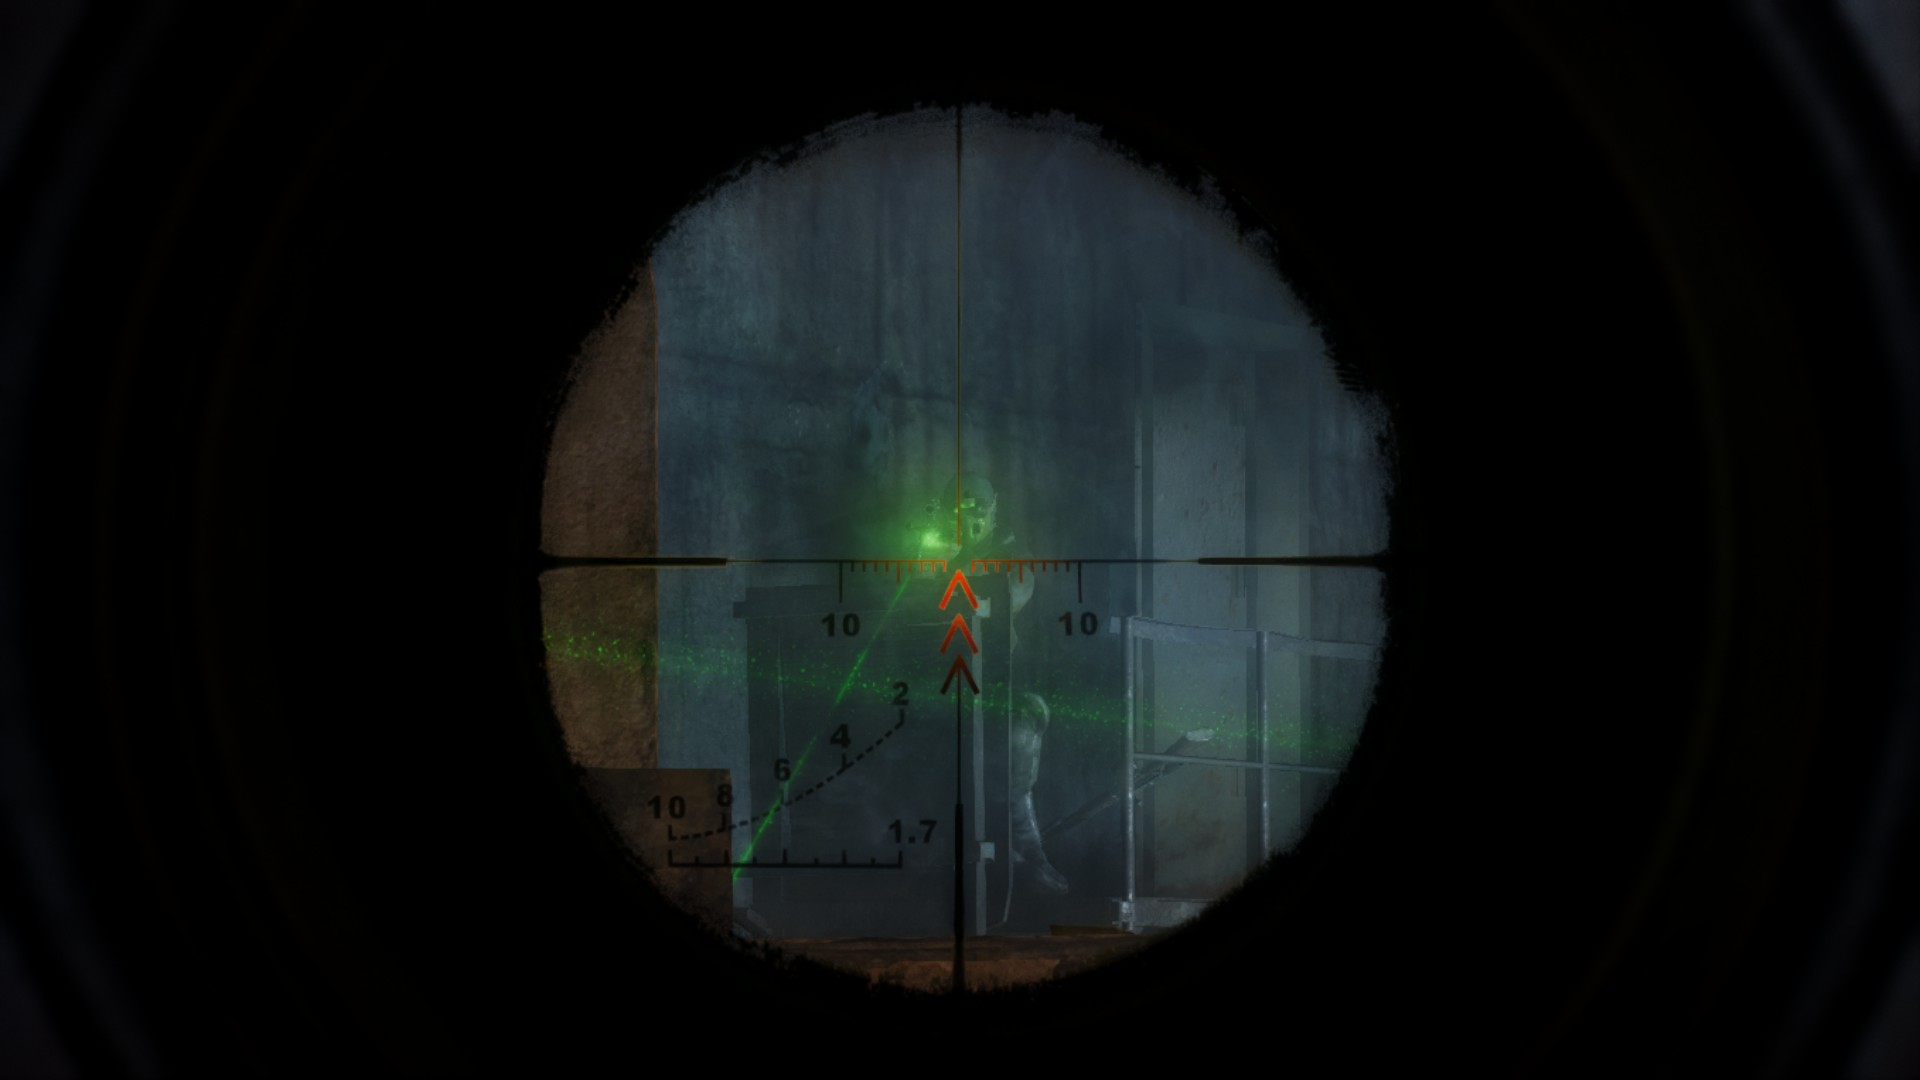
Hans starts the second wave by having one of his companions declare snipers are in the area. Moving over to the ammo box, Hans will automatically arm himself with his second weapon: the Volt Driver . This weapon is armed not only with powerful electro-charged ball bearings that have to potential to be instant-kills, but an equally powerful scope with impressive magnification.
One-by-one Hans must engage the Red Army snipers, all the while remaining weary of the others in the area. Roughly four or five can be found between the railing to the left, down the bridge, or on the other bridge to the right - so players are advised to have the utmost caution. Snipers are best located by the distinctive green laser-sight entering view, which though having the habit of blinding the player when scoped, can readily alert the player when they are in danger.
If the player is having trouble with the snipers, this section is the most merciful of all the others in that the back of the area the player is in is moderately safe for players to take a moment, crouch and reload or heal in.
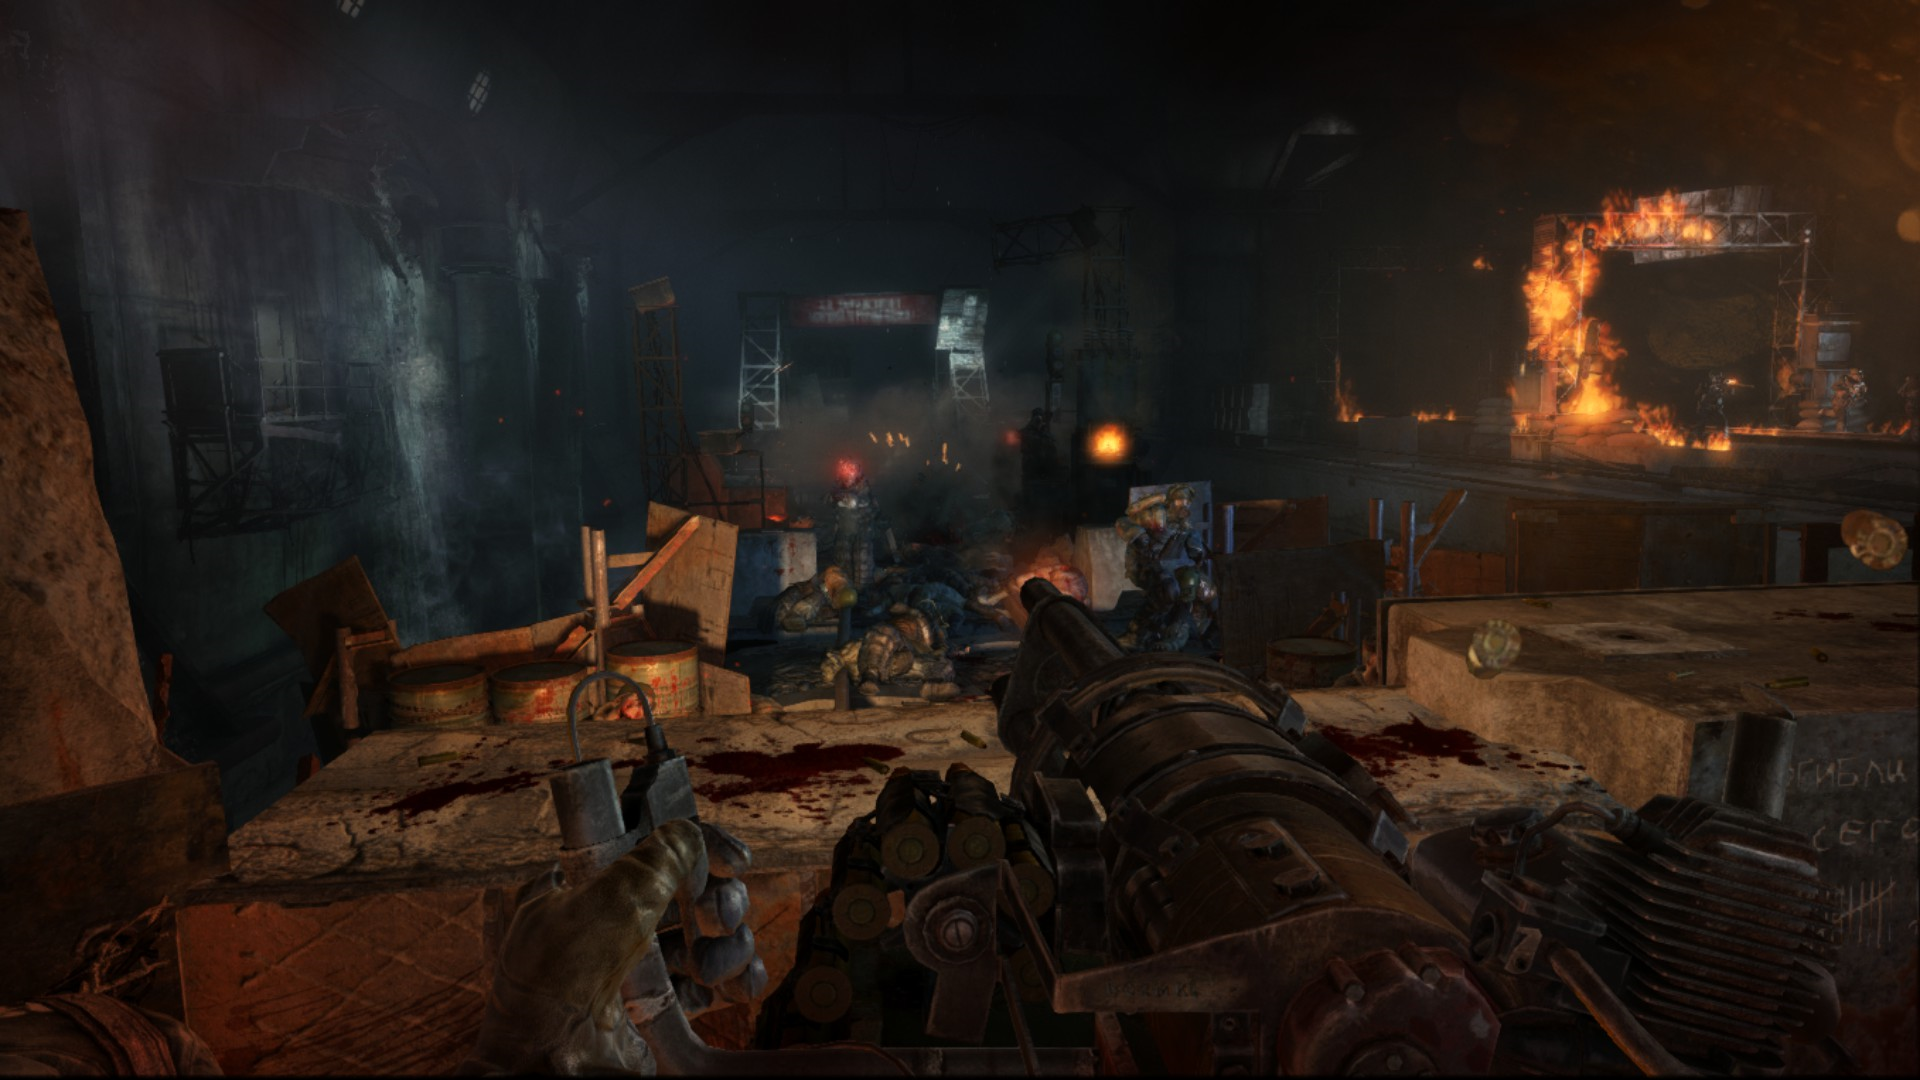
The Third Wave
Once again, similar to as Artyom must do at the end of his campaign, the Red Army attacks with a unit of shielded soldiers protecting a single minigun unit. Like Artyom, Hans has the ability to concentrate fire on the shield unit, and then take out the flamethrower soldier. Unlike Artyom however, sniping is a much more viable option for Hans, as the Volt-Driver is just as accurate and just as powerful as a Preved the player may or may not have retained possession of.
While Hans has the luxury of choice, he does not have all the safety Artyom did. Once a shield goes down at any time, the minigun unit will be expose for a second or two. If they are not hit enough to be made to stumble within this time time-frame, the minigun unit will begin to fire at the player - who has roughly half a second to get to cover and heal, lest be killed. The snipers will also still remain on the map, and will aggressively fire at the player if they concentrate on the shield unit first.
One recommended tactic would be that player should prioritize in accordance to time and distance of the minigun unit. Staying near the back of platform, on the ramp with the Volt Driver, so that they can repeatedly walk up and down it to get within firing range, and within cover. If doing this players should only casually concentrate on snipers - vying instead for the minigun unit, ducking and moving back into cover immediately if they run out of ammo and a shield and recently gone down. Should the unit be desperately near the player can heal, reload their minigun, and opt for a semi-suicidal charge to the front of the platform with the minigun to deliver the final blows.
Once the minigun soldier is dead, the player must snipe the remaining snipers with the Volt-Driver for the final waves to appear. As the player is doing so, one of Han's comrades will choose this as the most opportune moment to offer a Medved. The player is recommended to only take it once the snipers are dealt with, as it will force them to drop the Volt-Driver (which can be picked up from next to it's original place).
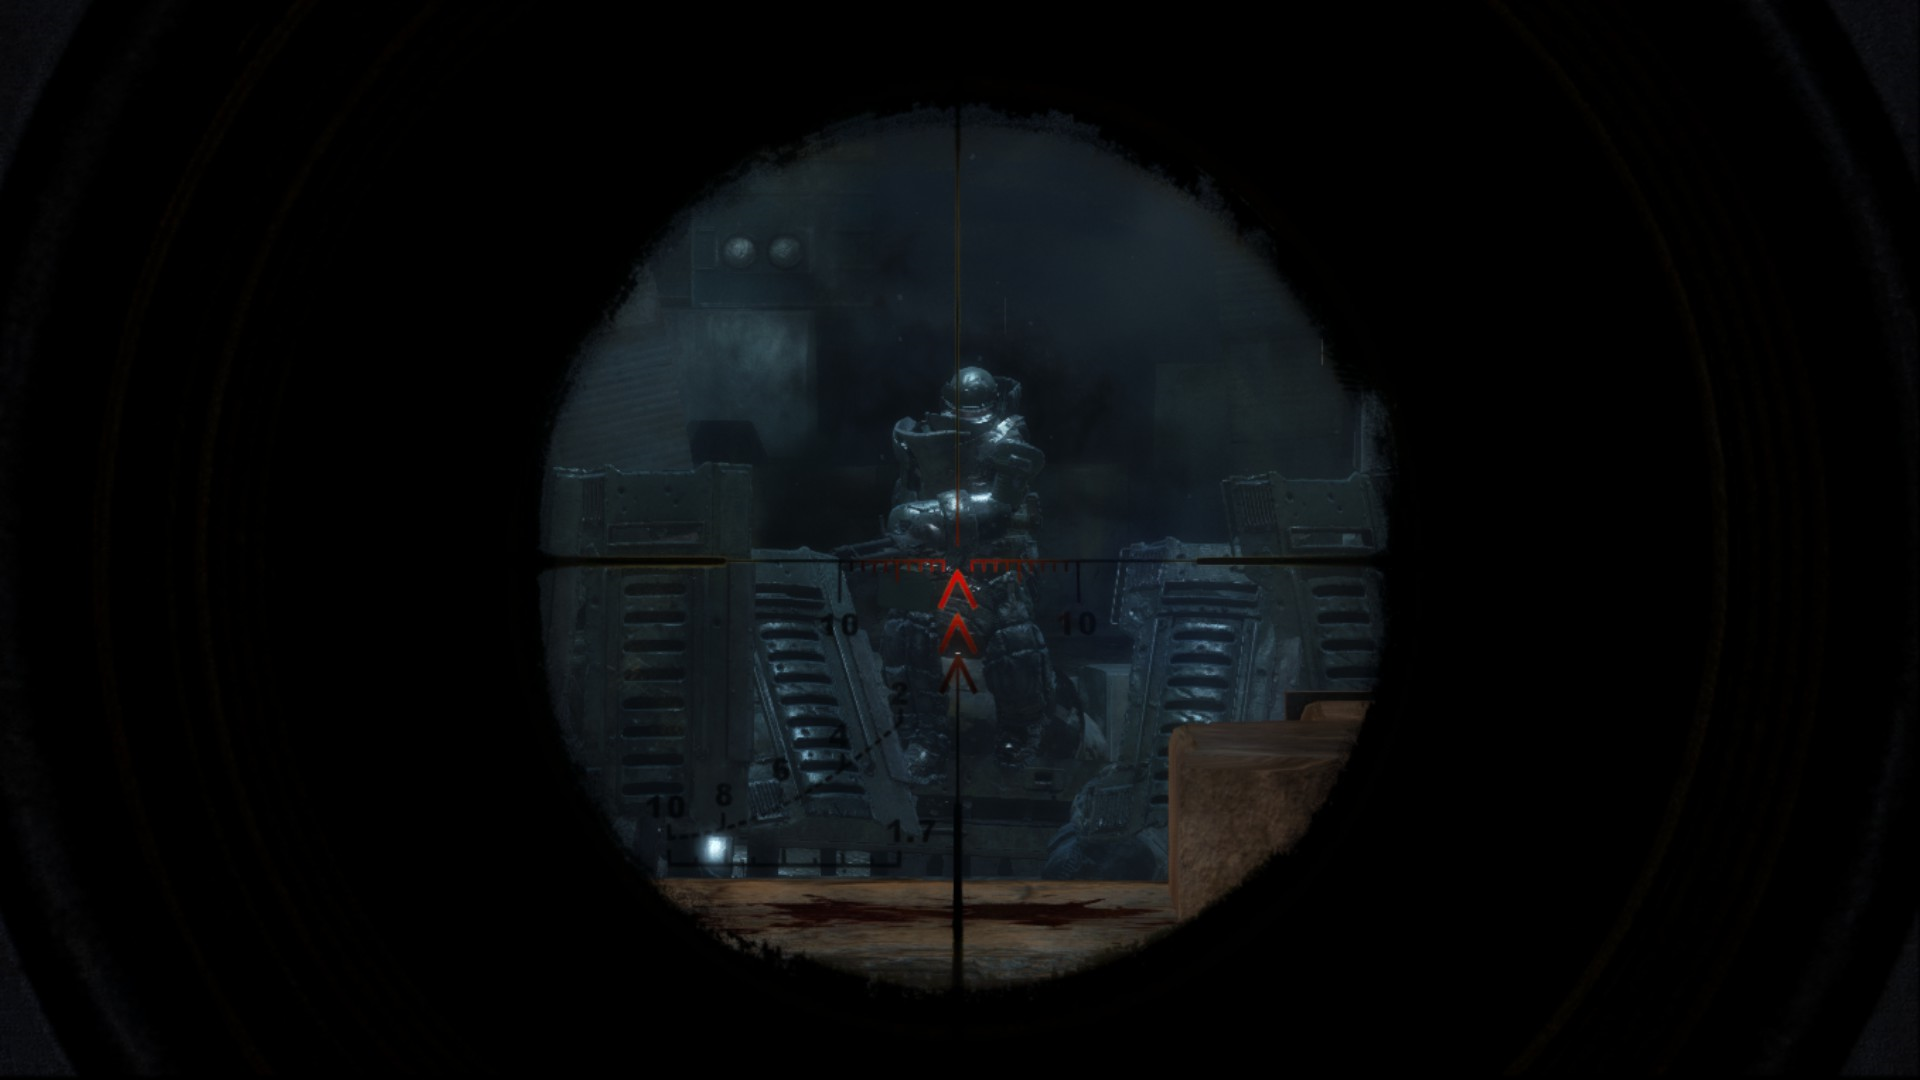
The Fourth Wave
Sporting heavy armor is the next wave, similar in difficulty and method to that of the first one. The only changing factor: which weapon for the player to use against them.
While the Medved seems like the obvious choice, as it is new, it can be the least effective for the encounter - on account of it's comparatively very low kill rate, and frequent and slow reload.
Similarly the Volt-Driver is a viable, but difficult method of attack. While it has a powerful damage threshold, it requires constant headshots for full effectiveness against the rushing heavy soldiers and frequently requires reloads. Equally detrimental to the use of the Volt-Driver: the concrete barrier at the front, and the distance in the back does absolutely nothing to protect the player from the Kalash fire of the heavy soldiers.
Instead, the player is recommended to opt for the minigun, as a single well-spent ammo box should be just under or exactly enough to deal with the wave.
The Fifth and Final Wave

By far the most difficult wave for some is the last one. Unlike the tank of D6, there is little strategy to the tank that appears on the other side of the platform. Armed with a randomly firing rocket-launcher and two heavy machine guns, the tank will combat the player mostly by it's presence but otherwise by moving back and forth down the same rail. When the tank moves forwards, the machineguns will target the player and can fire though most cover they may be behind (though thankfully with little in the way of damage capacity to compensate).
While the tank moves back and forth, it will fire out a rocket that will cause heavily damage, or outright kill the player, if they are in the general proximity of it. Rockets tend to be aimed at completely random (yet consistent through multiple re-loads) for either the front of the platform or the rear-left. Thus, if the player was fighting at the front, and noticed the tank preparing to fire, they could move to the very back of the platform to hopefully avoid the shot - using the time to heal or reload - and the careful journey back to make a stop at the ammo box. During this time the player should be incredibly wary of the left side of the platform, as no matter where a rocket hits, it is within the vicinity of the ammo box. The player's movements should be 100% reactionary, so that before moving anywhere, the player should make sure that the tank is not giving off the telltale sign of a rocket about to be fired - a white light at the top of the tank. While not with the Volt-Driver, and while in a effort masochistically difficult even in Easy mode, the tank indicates it can be been defeated with the use of the minigun by aiming at the top-most part of the tank, where the barrel would be seen. The area is best show to players playing on non-Ranger difficulties by hit-markers. Alternatively, the player can now take the Medved, if they had not already done so, and use it to fire grenades at the tank. The tank takes roughly nine well-placed grenades to reduce it down to it's chassis, and then one to roughly seven (dependent on difficulty) more to be destroyed.
Victory
With the tank destroyed, allies of Hans will claim victory over the battle. Hans stands triumphant over a vista of corpses before him, with reinforcements from Reich coming in from behind him.
Achievements

|
Hail Reich! | Bronze Trophy - 15 |
| Complete the ASSAULT INFANTRY level. | ||

|
Homo Homini Lupus Est | Bronze Trophy - 15 |
| Kill 100 enemies with heavy weapons. | ||
Bugs
- If you leave an armored soldier alive (or forget to kill him), he will still be firing at Hans in the outro, also dealing damage and even bullet wounds can be seen on the character if the red soldier delivers a hit.
- When the ending cutscene for the Heavy Squad level starts one can see a pink square on one of the corpses. This is most likely a graphical glitch. It was fixed when a patch was released.
- Sometimes when starting the mission a few of the lighting effects will show up as flat green polygons.
Gallery
")
")
")
")
")
")
")
")
")